
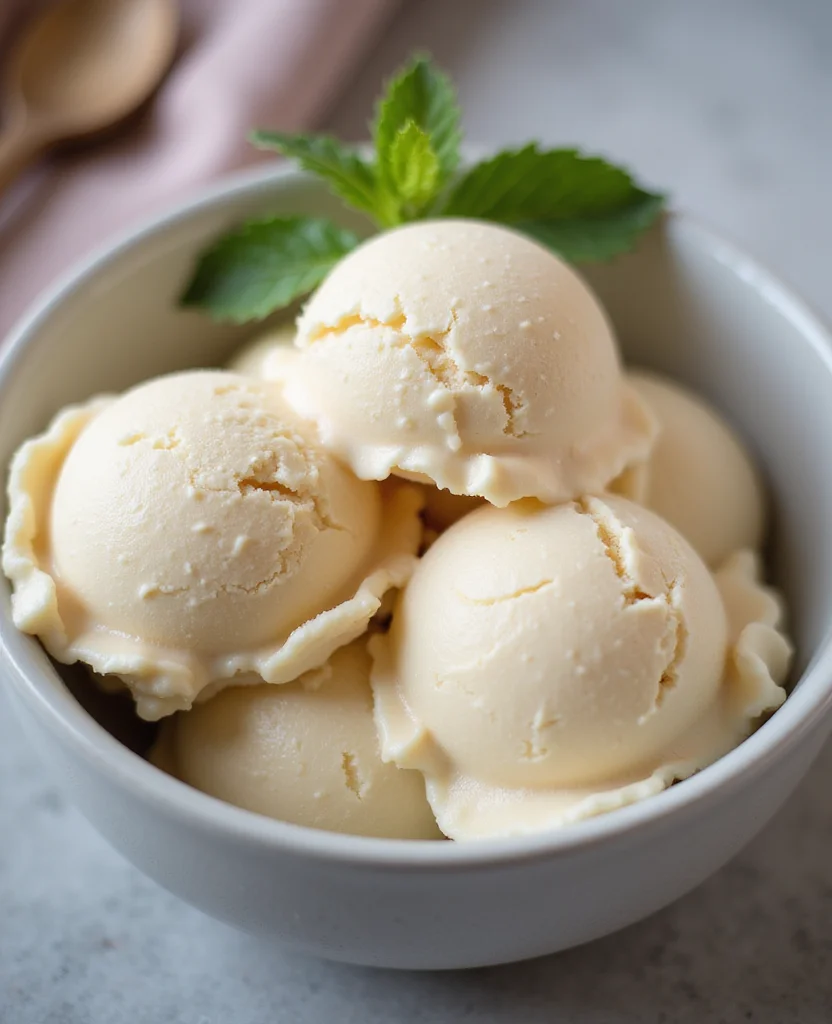
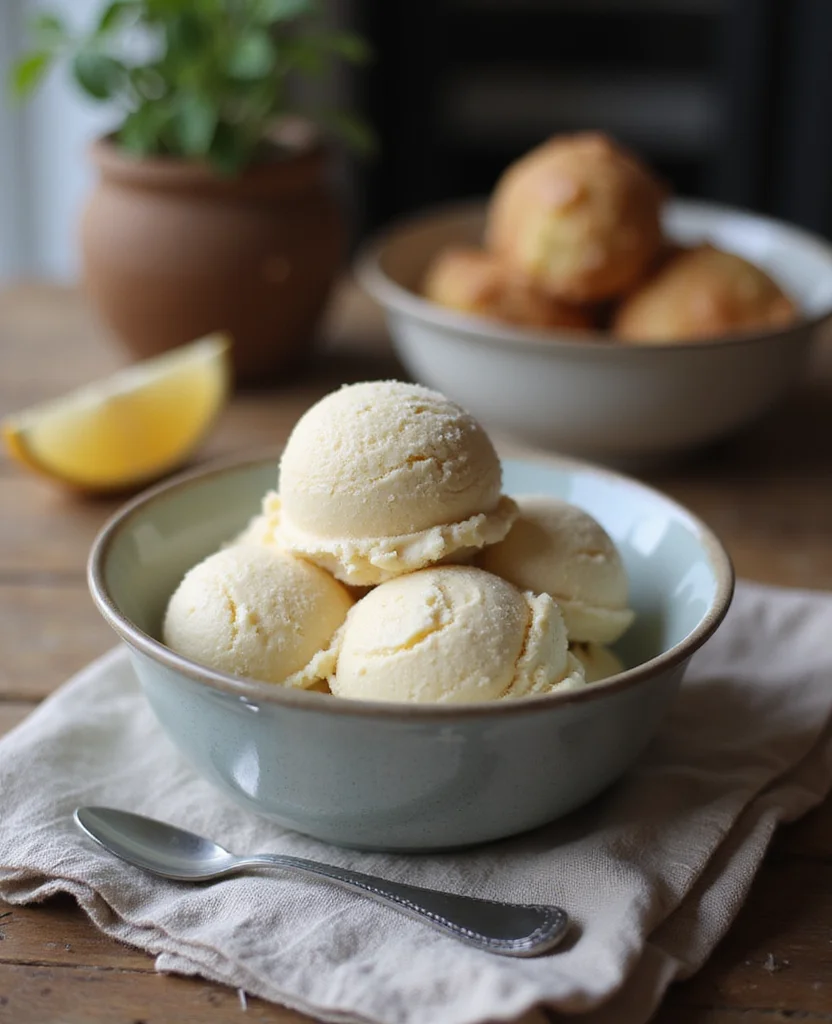
Homemade Dairy Free Ice Cream is a delightful treat that combines creamy texture with fresh, vibrant flavors.
It’s a perfect solution for those with lactose intolerance or anyone looking to explore plant-based options.
I first discovered the magic of dairy free ice cream when I was experimenting with alternative ingredients in my kitchen.
The result was a deliciously smooth dessert that rivals any traditional ice cream.
Whether it’s a hot summer day or a cozy winter evening, this treat is versatile enough to satisfy any sweet tooth.
Join me on this journey to create a frozen delight that is both healthy and indulgent.
Contents
- The History and Cultural Significance
- Recipe Overview
- Nutritional Information (per serving)
- Essential Equipment Guide
- Ingredients
- Preparation Methods
- Step 1: Prepare Ingredients
- Step 2: Blend the Base
- Step 3: Chill the Mixture
- Step 4: Prepare the Ice Cream Maker
- Step 5: Churn the Mixture
- Step 6: Add Flavorings and Mix-ins
- Step 7: Transfer and Freeze
- Step 8: Serve and Enjoy
- Critical Timing and Temperature Guide
- Pro Tips for Dairy Free Ice
- Troubleshooting Common Issues
- Variations and Regional Differences
- Food Science Behind the Recipe
- Frequently Asked Questions
- Serving and Presentation Guide
Recommended Products

QUICK AND EASY TO USE - Within minutes, easily turn any frozen fruit into a smooth "ice-cream" or "sorbet" like treat, without additional fats, sugars, or preservatives

SUPERIOR FUNCTION: This Cuisinart Ice Cream Maker Machine features a mixing paddle that makes frozen treats in 20 minutes or less.
MAKE ICE CREAM MEMORIES TOGETHER: Turn simple ingredients into fun family moments—kids can help create their own flavors while parents enjoy quality time that actually sticks
The History and Cultural Significance
• Dairy Free Ice traces its origins to ancient China, where it was originally created by combining snow with fruit juices.
• The dish evolved over decades as coconut milk and other plant-based alternatives became more popular, eventually becoming the beloved version we know today.
• In many Asian cultures, this dish traditionally appears at festivals and celebrations, symbolizing prosperity and joy.
• While many variations exist across different regions, the authentic version maintains a creamy texture and rich flavor that sets it apart from imitations.
Recommended Products

VERSATILE INGREDIENT: Unsweetened coconut milk lends the perfect flavor and texture to both sweet and savory recipes and dishes.

Micro Ingredients Organic Coconut Milk Powder, 2 Pound (32 Ounce), Non-GMO and Keto Friendly.

Recipe Overview
Recommended Products
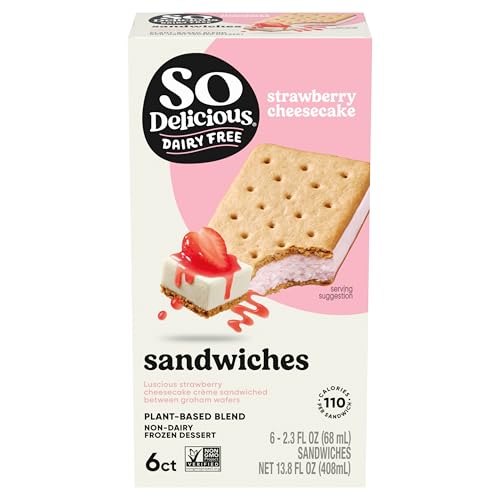
Dairy Free Your Mind: One 6 count pack of So Delicious Strawberry Cheesecake Plant Based Frozen Dessert Sandwiches - a flavor-full take on a classic dessert and perfect for your next ice cream party or as dairy free snacks


A MOMENT OF BLISS IN EVERY BITE: Nondairy frozen desserts are the perfect dessert for quick, easy snacking in a busy, modern life
Nutritional Information (per serving)
Recommended Products

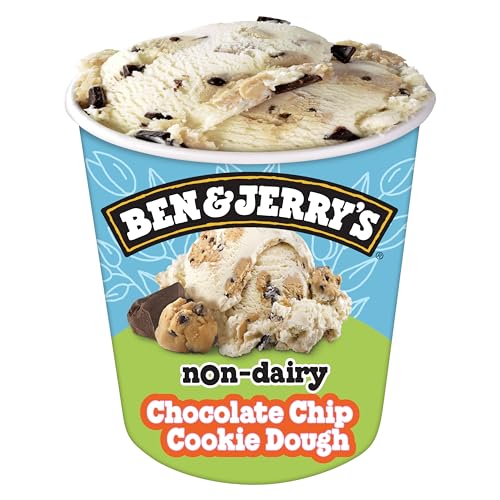
Dairy Free Your Mind: One pint of So Delicious Cookie Dough Plant Based Frozen Dessert - a flavor-full dairy free ice cream alternative that’s perfect for your next ice cream party, next-level sundae bowls or homemade dairy free snacks
Ben & Jerry's Vanilla Non-Dairy Frozen Dessert and certified vegan pint with gobs of chocolate chip cookie dough and fudge flakes.

Ben & Jerry's Chocolate Fudge Brownie non dairy pint
Essential Equipment Guide
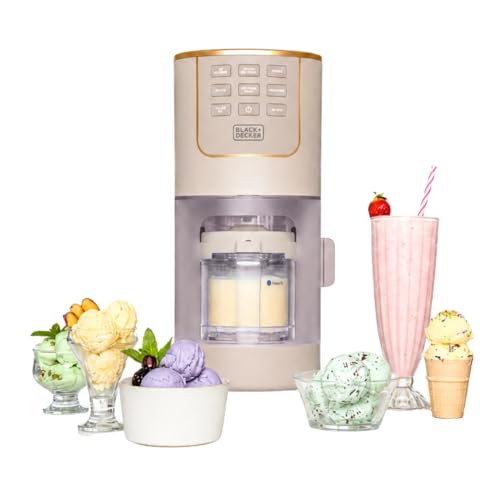
Ice Cream Maker: An ice cream maker is crucial for achieving a smooth and creamy texture. While hand-churning is an alternative, an electric ice cream maker is more efficient and yields consistent results. Look for one with a freezer bowl for easy use.
Blender: A high-powered blender is important for mixing ingredients into a silky base. Alternatives include a food processor, but a blender ensures a finer, more even blend. Look for one with multiple speed settings.
Mixing Bowls: Large mixing bowls are necessary for combining ingredients before churning. Stainless steel bowls are ideal as they help maintain the cold temperature needed for the mixture.
Recommended Products

SMOOTH AND CREAMY VANILLA FLAVOR – Enjoy a rich, creamy soft serve ice cream mix with a smooth texture and sweet vanilla flavor. This natural soft-serve powder creates a delicious base for homemade icecream, gelato, or sorbet made in any soft serve machine or frozen dessert maker.


SOFIA GRAINGE COLLABORATION: Inspired styles for little ones, created in collaboration with Sofia Grainge
Ingredients
Recommended Products


6 pound bag of Vanilla Soft Serve Dry Mix

DOUBLE-INSULATED FREEZER BOWL: This Cuisinart Cuisinart Ice Cream Maker Machine with double-insulated freezer bowl holds a generous 2 quarts of your favorite frozen dessert treats, including ice cream, frozen yogurt, sorbet, sherbet, and frozen drinks.
For the Base
|
| Amount | Ingredient | Notes |
|---|---|---|
| 2 cups | coconut milk | provides creaminess |
| 1 cup | almond milk | adds a subtle nutty flavor |
| 1/2 cup | agave syrup | sweetens naturally |
Flavoring
| Amount | Ingredient | Notes |
|---|---|---|
| 1 tablespoon | vanilla extract | for depth of flavor |
| 1 teaspoon | salt | enhances overall taste |
Add-ins
| Amount | Ingredient | Notes |
|---|---|---|
| 1/2 cup | chocolate chips | for texture and richness |
| 1/4 cup | chopped nuts | adds crunch |
Preparation Methods
Chilling the Mixture: This technique involves refrigerating the mixture for at least 2 hours before churning. It ensures the mixture is cold enough to freeze properly in the ice cream maker, preventing icy texture.
Incorporating Air: This involves slowly churning the mixture to incorporate air, creating a light and fluffy texture. It's vital for achieving the desired creaminess without dairy.
Layering Add-ins: Add-ins should be layered during the last few minutes of churning, allowing them to distribute evenly without sinking to the bottom. This technique ensures every bite has a perfect balance of flavors.
Recommended Products
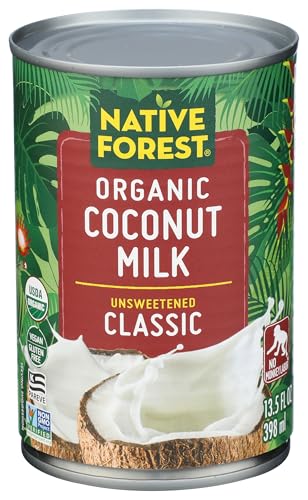
Organic, non GMO coconut milk

RICH & CREAMY COCONUT MILK - A staple of Thai, Indian & Caribbean cuisines, coconut milk imparts rich & creamy goodness & makes a delicious ingredient in soups, curries, sauces, desserts & beverages

Rich, creamy, non-dairy milk for smoothies, coffee, curries and baked goods
Step 1: Prepare Ingredients
Gather all ingredients and measure them accurately.
Ensure coconut and almond milk are well-shaken before pouring.
Place all ingredients within easy reach to streamline the preparation process.
Double-check quantities to avoid any mistakes.
Recommended Products
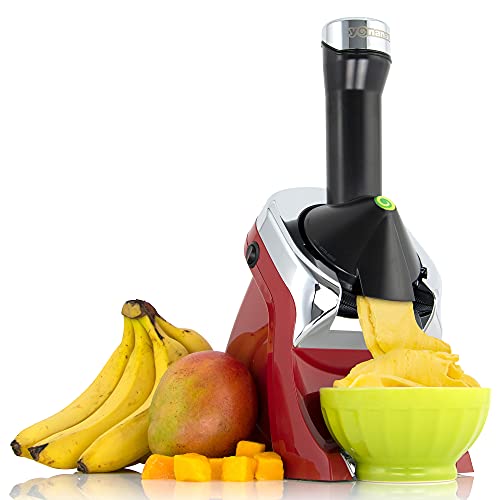
Yonanas Frozen Treat Maker: Easy-to-use vegan dessert maker quickly turns frozen fruit into delicious vegan soft serve or a smooth sorbet-like treat made without additional fats, sugars or preservatives

The package dimension of the product is 3.9"L x 3.9"W x 4.2"H

A DELICIOUS FROZEN TREAT: Nondairy frozen dessert tastes great in a bowl with your favorite toppings, on a cone, or blended into a shake
Step 2: Blend the Base
Add coconut milk, almond milk, agave syrup, vanilla extract, and salt into a blender.
Blend on high speed until the mixture is smooth and well combined.
Look for a uniform consistency with no visible lumps.
Ensure the blender is securely closed to prevent spills.
Recommended Products

Ben & Jerry's Chocolate Non-Dairy frozen dessert and certified vegan pint with gooey Marshmallow Swirls, Caramel Swirls & Fudge Fish.

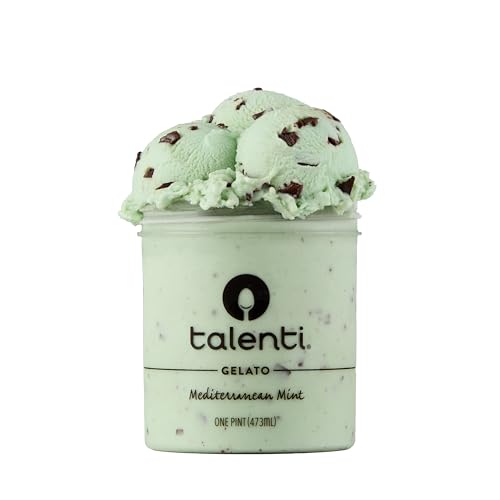
Talenti Mediterranean Mint Gelato uses real mint leaves steeped for 45 full minutes to get the perfect mint taste that is amplified by bittersweet chocolate chips.
Step 3: Chill the Mixture
Pour the blended mixture into a large mixing bowl.
Cover with plastic wrap and refrigerate for at least 2 hours.
Check that the mixture is cold to the touch before proceeding.
This step is crucial for achieving the right texture in the final product.
Recommended Products

SMOOTH AND CREAMY CHOCOLATE FLAVOR – Enjoy a rich, velvety soft serve ice cream mix with smooth texture and decadent chocolate flavor. This natural soft-serve powder creates a delicious base for homemade ice cream, gelato, or sorbet in any soft serve machine or frozen dessert maker.

Choose the Original Frappe and Smoothie Base: Transform frappes, smoothies, granitas, and even hot drinks and baked treats into creamy delights with Frozen Xplosion. Made with just 11 ingredients, the Original mix does not contain any lactose, gluten, cholesterol, trans fats, hydrogenated oils, or high fructose corn syrup. Perfect for any pantry.
Step 4: Prepare the Ice Cream Maker

Assemble your ice cream maker according to the manufacturer's instructions.
Ensure the freezer bowl is completely frozen before use.
Position the machine on a stable, flat surface for optimal operation.
Verify that all parts are clean and dry before starting.
Step 5: Churn the Mixture
Pour the chilled mixture into the ice cream maker.
Start churning according to the machine's settings.
Observe the mixture thickening over time, achieving a creamy consistency.
This step should take about 20-25 minutes depending on your machine.
Step 6: Add Flavorings and Mix-ins
During the last 5 minutes of churning, gradually add chocolate chips and chopped nuts.
Ensure these add-ins are evenly distributed throughout the mixture.
Watch for consistent incorporation without clumping.
This ensures each serving is packed with delicious surprises.
Step 7: Transfer and Freeze
Once churning is complete, transfer the ice cream to an airtight container.
Level the surface with a spatula for even freezing.
Seal the container tightly to prevent ice crystals from forming.
Place the container in the freezer for at least 2 hours for a firmer texture.
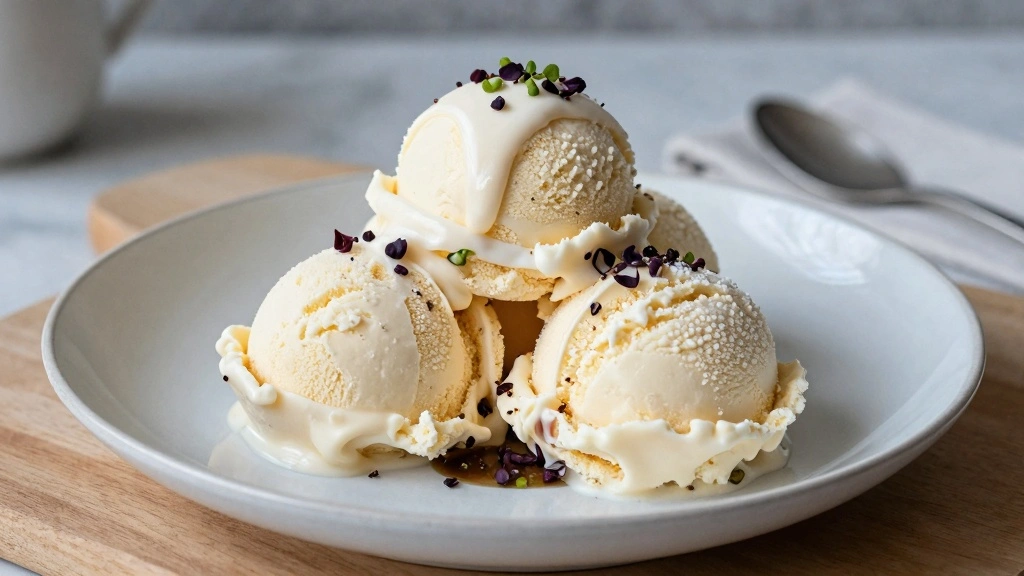
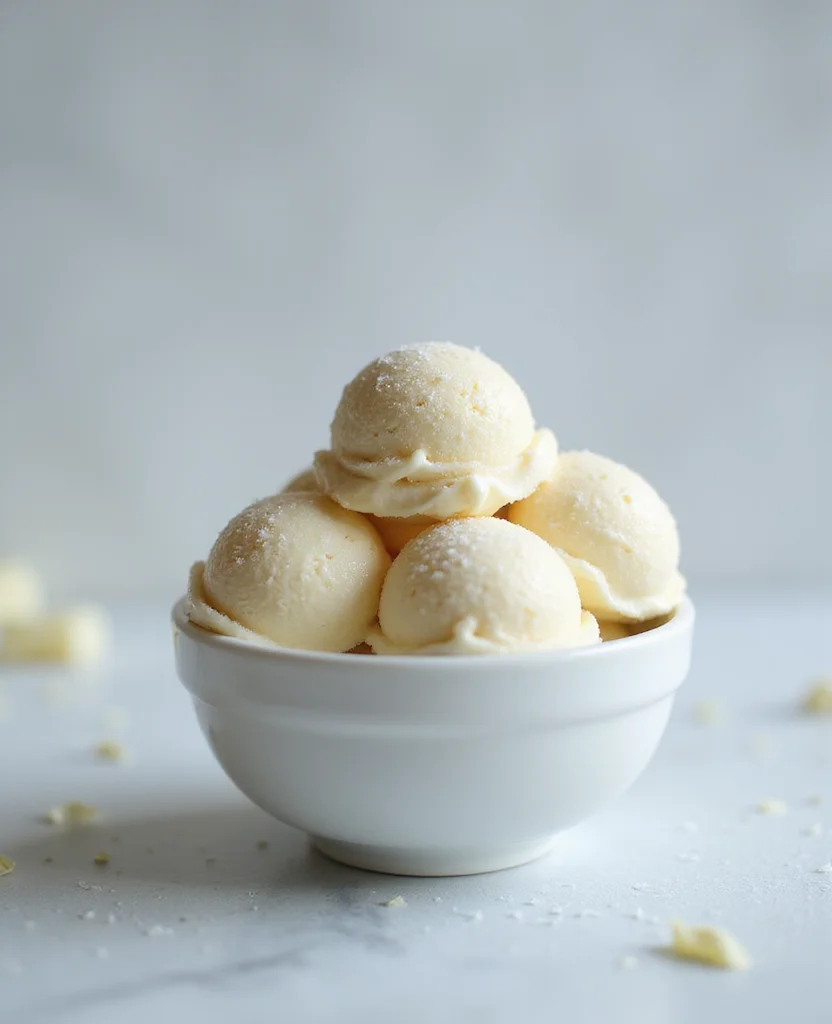
Step 8: Serve and Enjoy
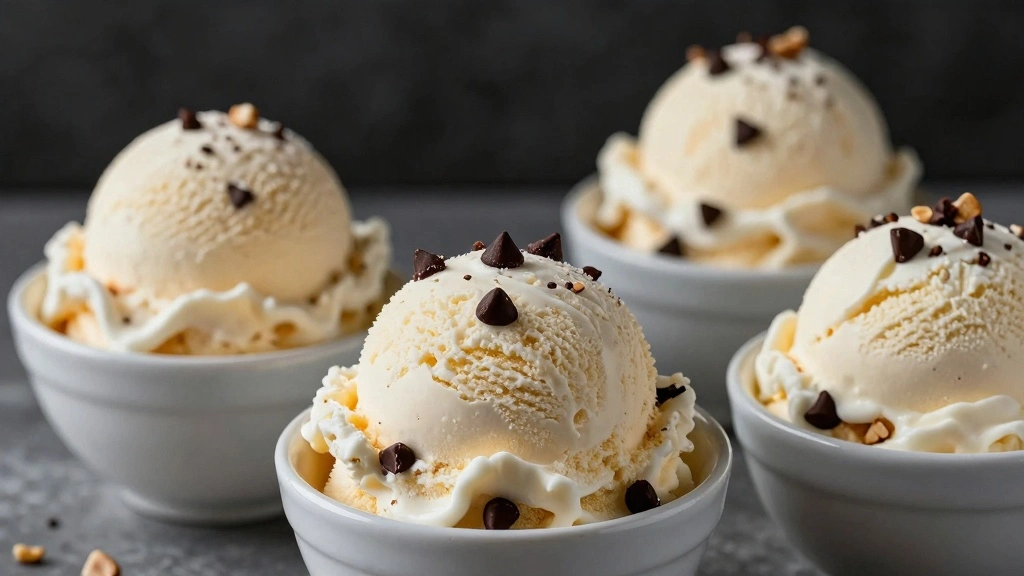
Remove the ice cream from the freezer and let it sit for a few minutes to soften slightly.
Scoop into bowls or cones using an ice cream scoop.
Observe the creamy texture as you scoop.
Enjoy your homemade dairy free ice cream immediately for the best experience.
Critical Timing and Temperature Guide
Chilling the Mixture: Chill for at least 2 hours in the refrigerator. The mixture should be cold to the touch. Avoid skipping this step to prevent icy texture.
Churning Time: Churn for 20-25 minutes. Look for a creamy consistency. Over-churning can lead to a buttery texture.
Freezing Duration: Freeze for a minimum of 2 hours. Ice cream should be firm yet scoopable. Avoid opening the freezer frequently to maintain temperature.
Pro Tips for Dairy Free Ice
• Ingredient Selection: Use full-fat coconut milk for the base to achieve the creamiest texture.
• Preparation Secret: Adding a pinch of salt enhances the sweetness without extra sugar.
• Temperature Management: Ensure all equipment is cold, including the ice cream maker bowl, to prevent melting.
• Texture Enhancement: Incorporate air by slowly churning the mixture.
• Flavor Layering: Vanilla extract adds depth, while chocolate and nuts provide contrasting textures.
• Make-Ahead Strategies: Prepare the base a day ahead and store it in the refrigerator.
• Restaurant-Quality Finishing Touches: Top with fresh fruit or a drizzle of dairy free chocolate sauce.
• Equipment Optimization: Use a spatula to scrape down the sides of the ice cream maker for even churning.
Troubleshooting Common Issues
• Texture Too Icy: This can occur if the mixture wasn't chilled enough before churning. Ensure the mixture is cold to the touch before proceeding.
• Flavors Unbalanced: If the ice cream tastes too sweet, add a pinch of salt to balance it out.
• Ice Crystals Forming: Ice crystals form when the ice cream is not stored in an airtight container. Ensure the container is sealed properly.
• Mixture Not Thickening: If the mixture doesn't thicken during churning, check that the freezer bowl is completely frozen.
• Over-Churning: If the ice cream becomes buttery, it has been over-churned. Reduce churning time in future attempts.
• Lack of Creaminess: Use full-fat coconut milk to ensure a creamy, smooth texture.
Variations and Regional Differences
• Thai Coconut Ice Cream: This version uses pandan leaves for flavor and is served with sticky rice, highlighting Thai culinary traditions.
• Italian Gelato: Made with almond milk and a touch of espresso, this version has a denser, silkier texture typical of Italian desserts.
• Mexican Chocolate Ice Cream: Incorporates cinnamon and chili powder for a spicy kick, reflecting Mexican flavor profiles.
• Japanese Matcha Ice Cream: Uses matcha powder for a distinct green tea flavor, a popular choice in Japan.
Food Science Behind the Recipe
• Emulsion Science: The combination of fats from coconut milk helps create a stable emulsion, essential for creamy texture.
• Freezing Point Depression: Agave syrup lowers the freezing point, resulting in a softer ice cream that is easier to scoop.
• Air Incorporation: Churning incorporates air, reducing ice crystal formation and improving texture.
Frequently Asked Questions
What's the most common mistake people make when preparing Dairy Free Ice Cream? The most common mistake is not chilling the mixture enough before churning, leading to an icy texture.
Can I use other plant-based milks in this recipe? Yes, but the texture may vary. Coconut and almond milk provide the best creaminess.
How can I make the ice cream sweeter? Increase the agave syrup or use a different sweetener like maple syrup.
Why is my ice cream not setting properly? Ensure your ice cream maker's bowl is completely frozen before use.
Can I add fresh fruits to the mix? Yes, but add them during the last few minutes of churning to maintain texture.
What are some topping suggestions? Fresh berries, shredded coconut, or a drizzle of caramel sauce work well.
How long can I store the ice cream? Store in an airtight container for up to 2 weeks for best quality.
Why does my ice cream taste bland? Ensure a balance of sweetener and a pinch of salt to enhance flavors.
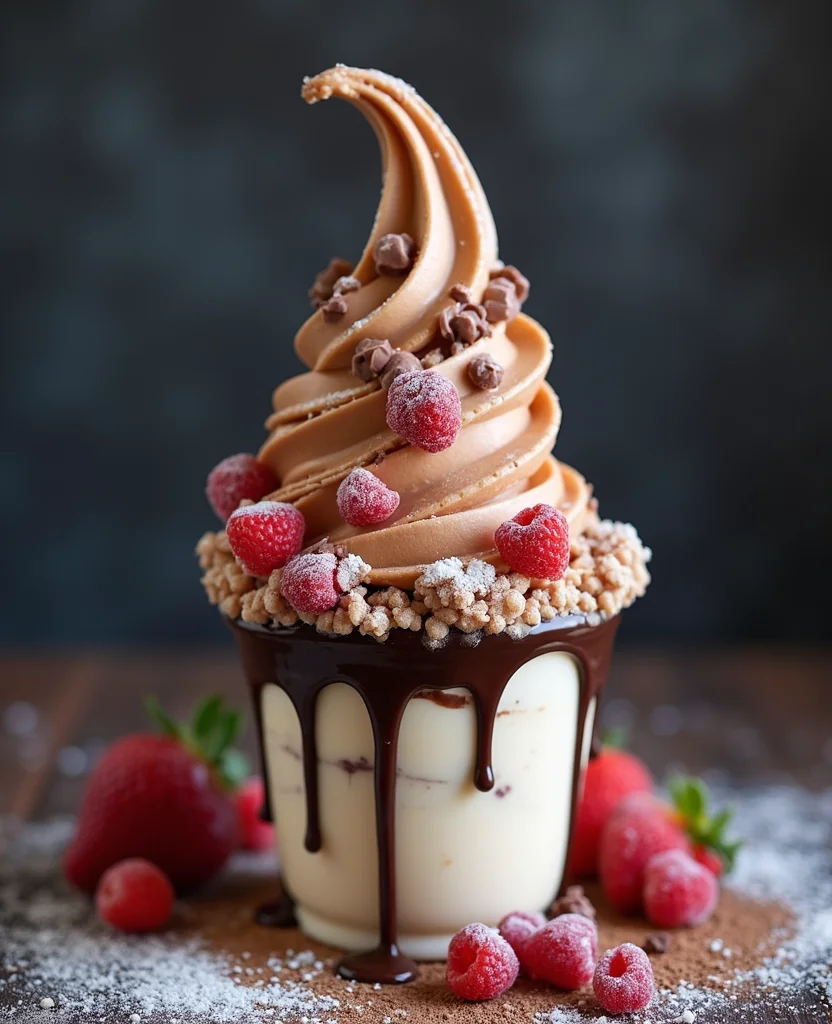
Serving and Presentation Guide
• Traditional Presentation: Serve in small bowls with a sprinkle of nuts or chocolate shavings.
• Gourmet Style: Use a quenelle technique for scooping and serve on a chilled plate.
• Family Style: Serve in a large dish with multiple scoops and a variety of toppings for guests to choose from.
• Child-Friendly Presentation: Serve in colorful cones with sprinkles or mini marshmallows on top.
Conclusion
Creating your own homemade dairy free ice cream is a rewarding experience that allows you to enjoy a delicious treat without the dairy.
With the right techniques and ingredients, you can achieve a creamy, flavorful dessert that everyone will love.
Don't hesitate to experiment with different flavors and add-ins to make it your own.
I encourage you to try this recipe and enjoy the delightful results with family and friends.