

When I first embarked on a dairy-free journey, I feared I might have to forego some of my favorite indulgences.
However, I soon discovered the magic of creamy dairy-free cheesecake, a delightful alternative that doesn’t sacrifice flavor or texture.
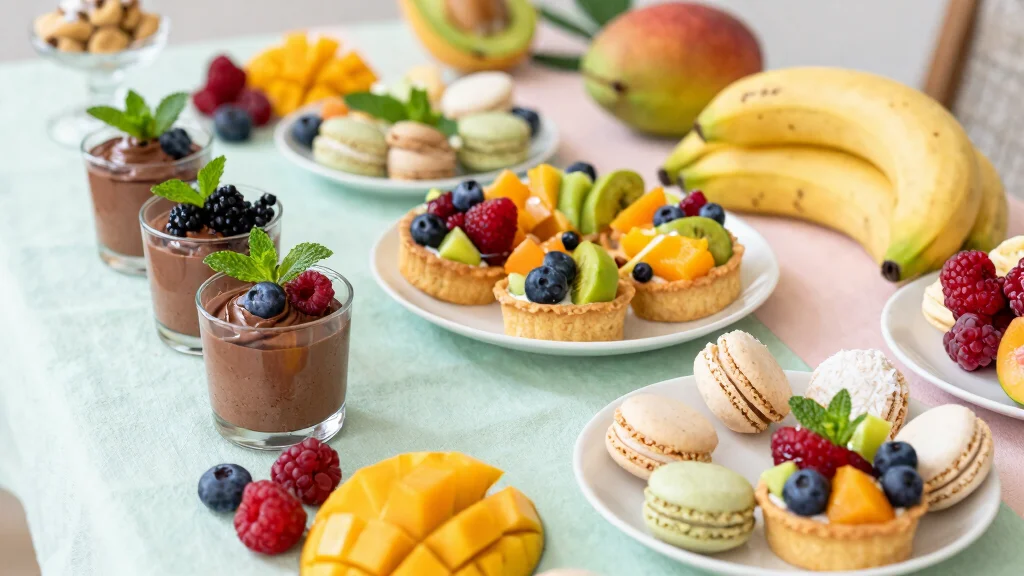
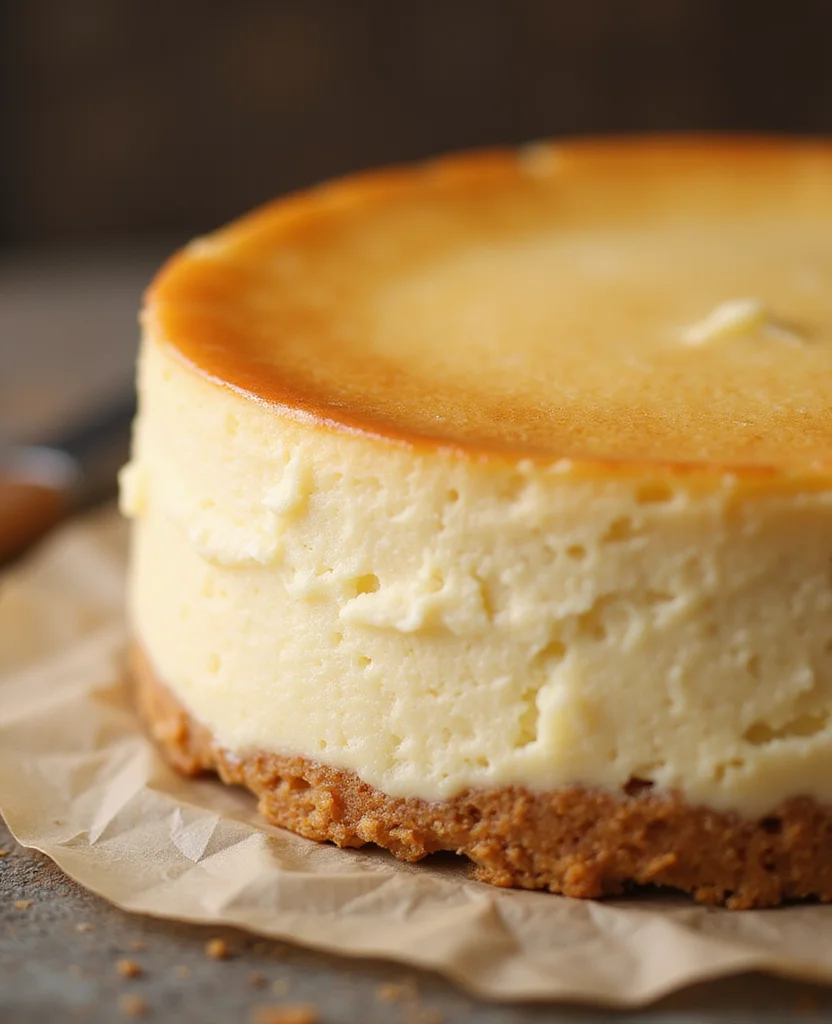
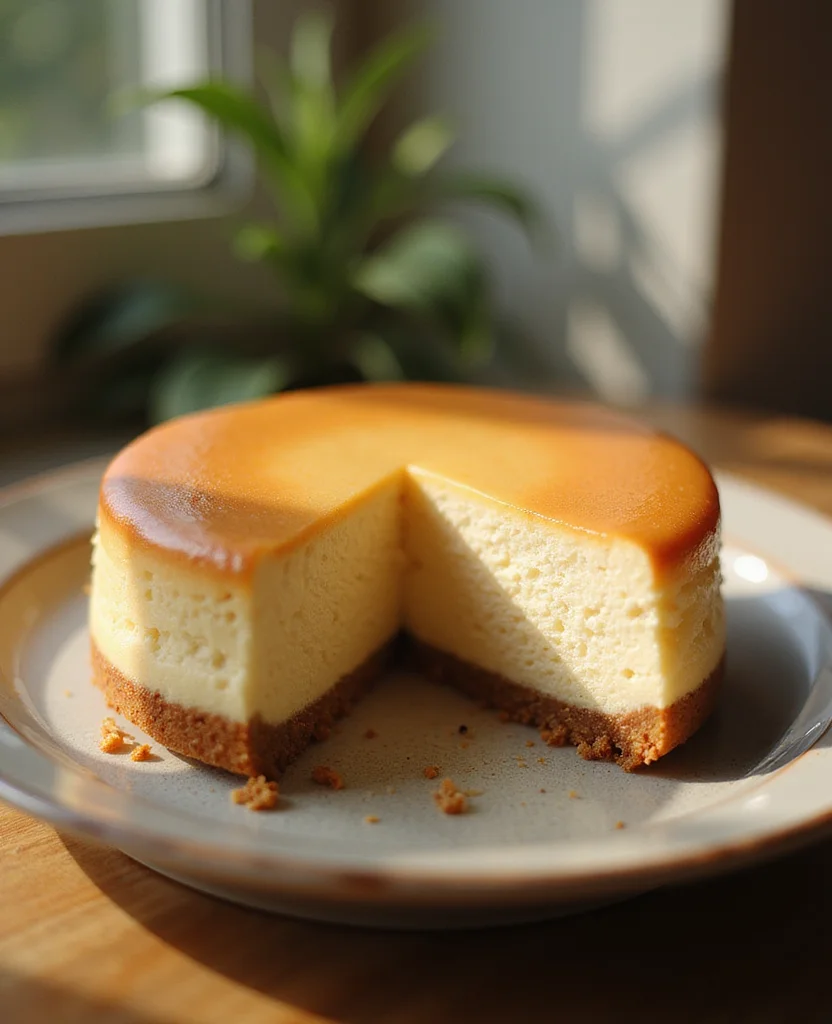
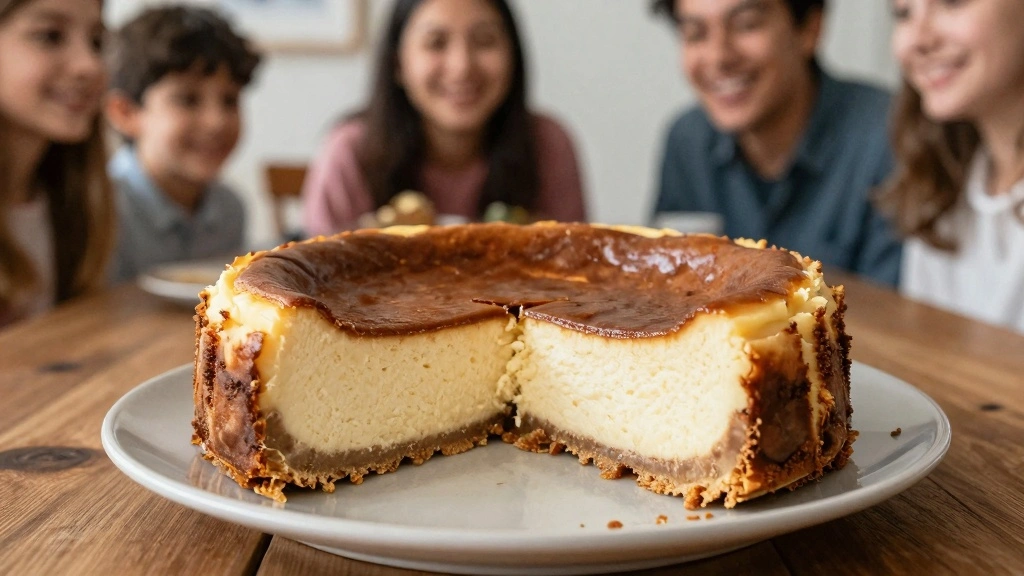
This cheesecake offers a rich, velvety experience with a delicate balance of sweetness and tang, making it a perfect ending to any meal.
Whether you’re lactose intolerant, vegan, or simply looking to try something new, this recipe promises to deliver satisfaction.
Prepare to amaze your taste buds with a dessert that’s both indulgent and surprisingly light.
Join me as we explore the art of crafting a creamy, dreamy dairy-free cheesecake.
Contents
- The History and Cultural Significance
- Recipe Overview
- Nutritional Information (per serving)
- Essential Equipment Guide
- Ingredients
- Preparation Methods
- Step 1: Soak Cashews
- Step 2: Prepare the Base
- Step 3: Bake the Base
- Step 4: Blend the Filling
- Step 5: Pour Filling Over Base
- Step 6: Prepare Water Bath
- Step 7: Bake the Cheesecake
- Step 8: Chill the Cheesecake
- Critical Timing and Temperature Guide
- Pro Tips for Creamy Dairy Free
- Troubleshooting Common Issues
- Variations and Regional Differences
- Food Science Behind the Recipe
- Frequently Asked Questions
- Serving and Presentation Guide
The History and Cultural Significance
• Creamy Dairy Free traces its origins to the innovative kitchens of 20th century America, where it was originally created by home chefs experimenting with alternative ingredients.
• The dish evolved over decades as plant-based milks and cheeses became more widely available and refined, eventually becoming the beloved version we know today.
• In vegan and plant-based diets, this dish traditionally appears at celebrations and gatherings, symbolizing inclusivity and innovation.
• While many variations exist across different regions, the authentic version maintains a creamy, smooth texture that sets it apart from imitations.
Recipe Overview
Nutritional Information (per serving)
Essential Equipment Guide
Springform Pan: This tool is crucial for achieving the classic shape and easy release of the cheesecake. Alternatives like a regular cake pan can work, but a springform pan ensures clean edges and easy serving. Look for non-stick options with a tight seal.
High-Speed Blender: For creating the smoothest, creamiest filling, a high-speed blender is indispensable. It ensures all ingredients are well-incorporated, creating a velvety texture. If unavailable, a food processor can be used, but the texture might be slightly less smooth.
Oven Thermometer: Maintaining an accurate oven temperature is key to preventing cracks in the cheesecake. An oven thermometer ensures your oven runs at the correct temperature, avoiding over or undercooking.
Ingredients
For the Base
|
| Amount | Ingredient | Notes |
|---|---|---|
| 1.5 cups | graham cracker crumbs | for a crunchy, flavorful base |
| 0.5 cup | coconut oil | melted, binds the crust |
| 1 tablespoon | sugar | adds sweetness |
For the Filling
| Amount | Ingredient | Notes |
|---|---|---|
| 2 cups | raw cashews | soaked overnight, for creamy texture |
| 1 cup | coconut cream | adds richness |
| 0.75 cup | maple syrup | natural sweetener |
| 0.5 cup | lemon juice | for tang |
| 1 tablespoon | vanilla extract | for depth of flavor |
| 1 pinch | salt | enhances all flavors |
Preparation Methods
Soaking Cashews: This technique involves soaking raw cashews in water overnight to soften them. It is crucial for achieving a smooth, creamy filling. To master it, ensure the cashews are fully submerged in water, and rinse them well before use.
Blending: A high-speed blender is used to puree the soaked cashews and other filling ingredients until completely smooth. This technique is essential for the cheesecake's silky texture. Blend in stages, scraping down the sides to ensure everything is incorporated.
Baking in a Water Bath: This method involves placing the cheesecake in a larger pan filled with hot water during baking. It helps cook the cheesecake evenly and prevents cracking. Ensure the springform pan is tightly sealed with foil to keep water out.
Step 1: Soak Cashews

Place raw cashews in a bowl and cover with water.
Let them soak overnight or for at least 8 hours.
This softens the nuts, crucial for a smooth filling.
Drain and rinse the cashews before using them in the recipe.
Step 2: Prepare the Base
Preheat your oven to 350°F (175°C).
In a mixing bowl, combine graham cracker crumbs, melted coconut oil, and sugar.
Mix until the crumbs are evenly coated and the mixture resembles wet sand.
Press the mixture firmly into the bottom of a springform pan.
Step 3: Bake the Base
Place the springform pan in the preheated oven.
Bake for 10 minutes until slightly golden and fragrant.
Remove from oven and let it cool while you prepare the filling.
This step ensures a crunchy base for your cheesecake.
Step 4: Blend the Filling
Add soaked cashews, coconut cream, maple syrup, lemon juice, vanilla extract, and salt to a high-speed blender.
Blend on high until completely smooth and creamy.
Scrape down the sides as needed to ensure all ingredients are incorporated.
The mixture should have no lumps and a velvety texture.
Step 5: Pour Filling Over Base
Pour the blended filling over the cooled crust in the springform pan.
Use a spatula to smooth the top, ensuring an even layer.
Tap the pan gently on the counter to remove air bubbles.
This helps achieve a uniform cheesecake texture.
Step 6: Prepare Water Bath
Wrap the bottom of the springform pan in foil to prevent water from seeping in.
Place the pan in a larger baking dish.
Fill the baking dish with hot water until it reaches halfway up the sides of the springform pan.
This helps cook the cheesecake evenly and prevents cracks.
Step 7: Bake the Cheesecake
Place the water bath setup in the preheated oven.
Bake for 50 minutes or until the edges are set and the center is slightly wobbly.
Turn off the oven and let the cheesecake sit inside for another hour.
This gradual cooling prevents cracking and ensures a creamy texture.
Step 8: Chill the Cheesecake
Remove the cheesecake from the oven and let it cool to room temperature.
Once cooled, refrigerate it for at least 4 hours or overnight.
This chilling process allows the flavors to meld and the texture to set.
Ensure the cheesecake is covered to prevent it from absorbing fridge odors.
Critical Timing and Temperature Guide
Preparing the Base: Bake at 350°F for 10 minutes until golden. Watch for over-browning, which can make the base too hard.
Baking the Filling: Bake at 325°F for 50 minutes. The center should wobble slightly. Avoid opening the oven door frequently to prevent cracks.
Chilling the Cheesecake: Chill in the refrigerator for at least 4 hours. This ensures the cheesecake sets properly and enhances flavor. Avoid shortcuts like freezing, which can alter texture.
Pro Tips for Creamy Dairy Free
• Ingredient Selection: Choose high-quality raw cashews and full-fat coconut cream for the best texture and flavor. Fresh lemon juice is vital for tanginess.
• Preparation Secret: Soaking cashews longer than 8 hours can make them too soft, affecting texture. Stick to the recommended time.
• Temperature Management: Ensure all ingredients are at room temperature before blending to achieve a smooth filling.
• Texture Enhancement: Blend the filling for at least 3-4 minutes to ensure complete smoothness. Scrape the sides of the blender as needed.
• Flavor Layering: Add a pinch of salt to enhance sweetness and balance flavors. It's a small addition with a big impact.
• Make-Ahead Strategies: Prepare the crust a day in advance and store it in the fridge. This allows you to focus on the filling the next day.
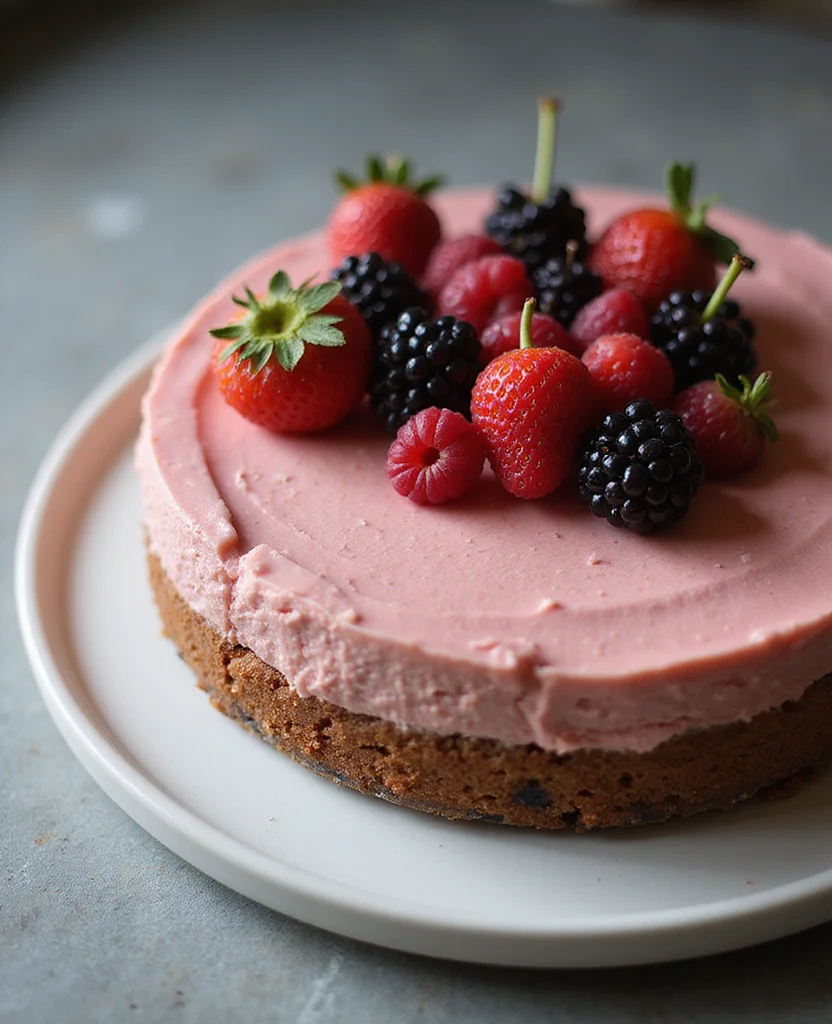
• Restaurant-Quality Finishing Touches: Garnish with fresh berries or a drizzle of berry sauce for a professional look.
• Equipment Optimization: Use a high-speed blender over a regular one to achieve the silkiest filling.
Troubleshooting Common Issues
• Cracked Cheesecake: Overbaking or cooling too quickly can cause cracks. Ensure gradual cooling in the oven after baking.
• Runny Filling: Insufficient soaking of cashews or incorrect coconut cream can lead to a runny filling. Ensure proper soaking and use full-fat coconut cream.
• Dense Texture: Not blending long enough results in a dense texture. Blend until completely smooth, scraping sides as needed.
• Overly Sweet: Taste and adjust sweetness before baking. Maple syrup sweetness can vary, so adjust to taste.
• Crumbly Base: If the base is crumbly, it may not have enough fat. Add a bit more melted coconut oil and press firmly into the pan.
• Water Leakage: If water seeps into the pan, ensure foil is tightly wrapped around the springform pan before baking in a water bath.
Variations and Regional Differences
• New York Style: This version uses a denser cashew filling with a hint of almond extract, offering a richer, more decadent experience.
• Japanese Style: Incorporates tofu and agar-agar for a lighter, airy texture, often topped with matcha powder for a unique twist.
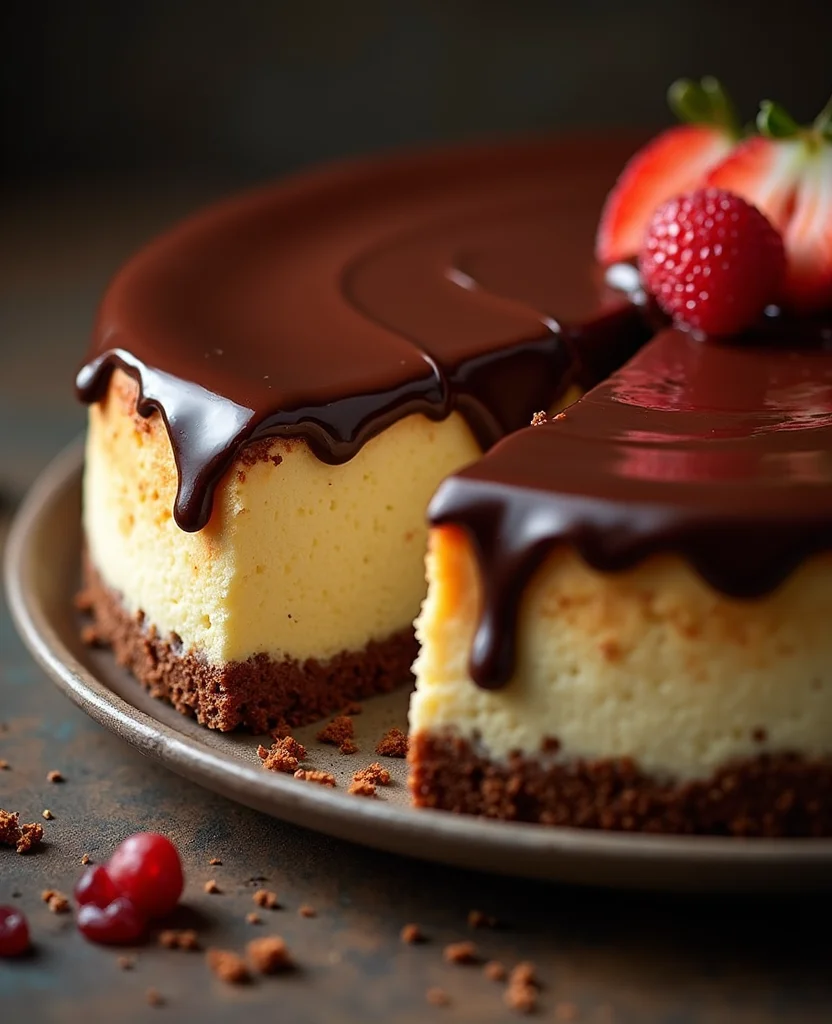
• European Style: Includes a layer of dairy-free chocolate ganache on top, adding a luxurious depth and contrasting flavors.
• Mediterranean Style: Features a base made from crushed pistachios and dates, providing a nutty, naturally sweet foundation.
Food Science Behind the Recipe
• Emulsification: Blending cashews with coconut cream creates an emulsion, giving the cheesecake its creamy texture. Understanding emulsification helps achieve a smooth, consistent filling.
• Baking Chemistry: The water bath method regulates temperature and humidity, preventing cracks by ensuring even heat distribution.
• Flavor Balance: The combination of fats, acids, and sugars creates a harmonious balance of flavors. Recognizing how these elements interact enhances the overall taste profile.
Frequently Asked Questions
What's the most common mistake people make when preparing creamy dairy-free cheesecake? Overbaking and cooling too quickly can cause cracks. Always allow the cheesecake to cool gradually in the oven.
Can I use other nuts instead of cashews? Cashews are preferred for their creamy texture, but macadamia nuts can be a suitable substitute with a slight flavor variation.
How can I make this recipe nut-free? Substituting sunflower seeds for cashews can work, but the texture might differ slightly.
Why is my cheesecake runny? Insufficient soaking or using low-fat coconut cream can cause a runny texture. Ensure proper soaking and use full-fat coconut cream.
Can I freeze the cheesecake to set it quicker? Freezing can alter the texture, making it icy. It's best to chill in the refrigerator for a smooth consistency.
What toppings pair well with this cheesecake? Fresh berries, fruit compote, or a drizzle of chocolate sauce complement the flavors beautifully.
How should I store leftovers? Store in an airtight container in the refrigerator for up to 5 days to maintain freshness.
Can I use a different sweetener? Yes, agave nectar or coconut sugar can be used as alternatives, but adjust to taste as sweetness levels vary.
Is this recipe suitable for a vegan diet? Absolutely, this cheesecake is entirely plant-based and perfect for vegan diets.
Serving and Presentation Guide
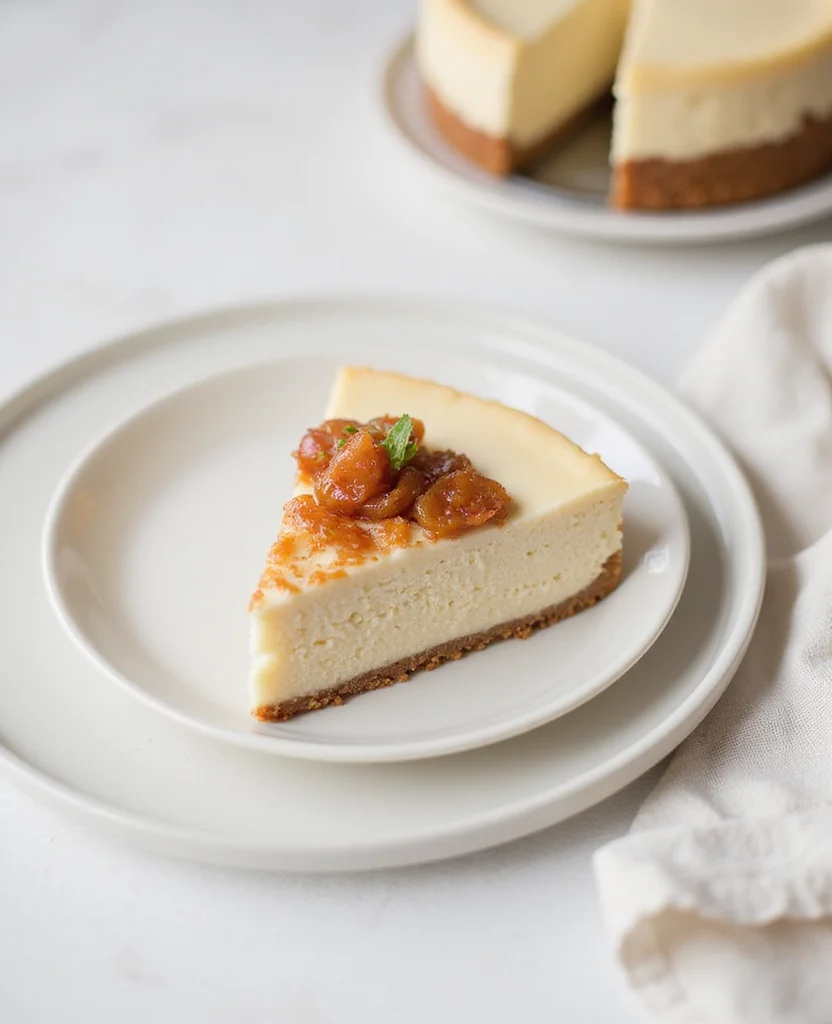
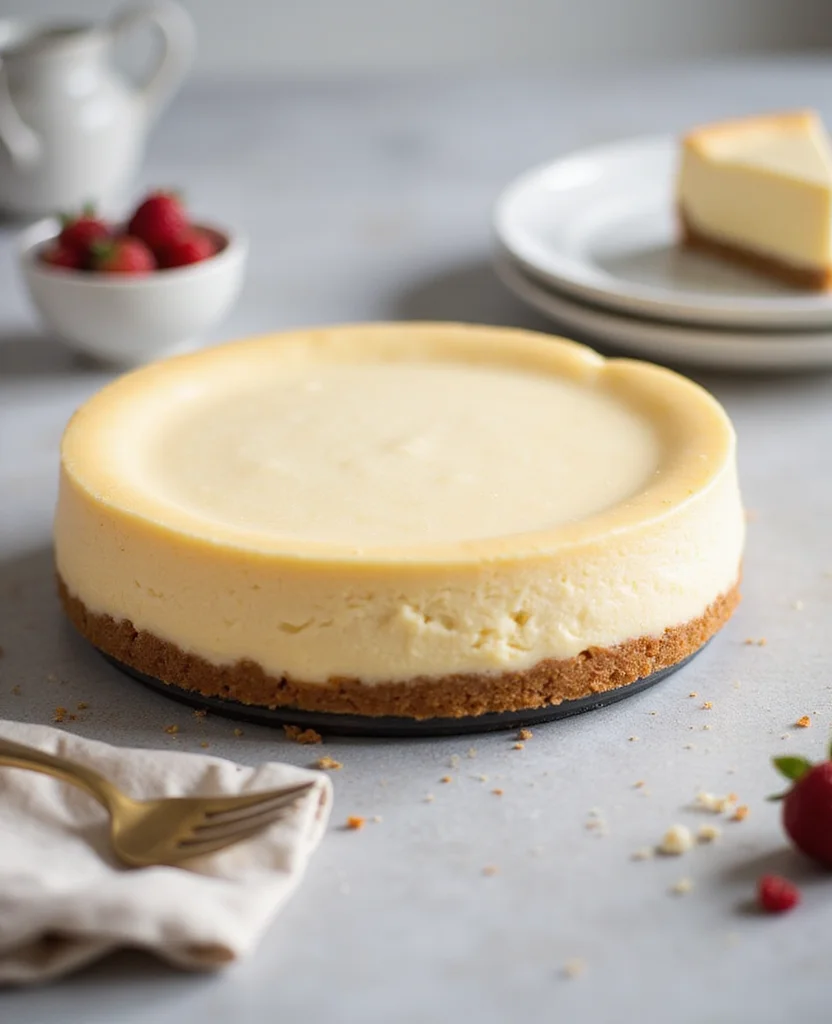
• Traditional Presentation: Serve plain or with a simple berry garnish on a classic white cake plate for a timeless look.
• Modern Minimalist: Use a slate or dark plate to make the cheesecake's colors pop, garnished with a single mint leaf.
• Rustic Charm: Present on a wooden board with scattered crushed nuts and a drizzle of berry sauce for a cozy feel.
• Gourmet Style: Add edible flowers and a sprinkle of powdered sugar for an elegant, restaurant-quality presentation.
Conclusion
Creating a creamy dairy-free cheesecake at home is not only possible but also incredibly rewarding.
With this recipe, you're equipped to surprise and delight your family and friends with a dessert that's both indulgent and inclusive.
I encourage you to try this recipe and experience the joy of a truly satisfying dairy-free dessert.
Happy baking and enjoy every delicious bite!