
Imagine a dessert that combines simplicity with indulgence, allowing everyone to enjoy a slice of nostalgia without the dairy.
These Easy Dairy Free Pie Recipes are perfect for those who want to savor sweetness without compromising dietary needs.
From fruity fillings to rich chocolatey goodness, each pie offers a unique taste experience.
Whether it’s a summer gathering or a cozy winter evening, these pies fit every occasion seamlessly.
I first fell in love with dairy-free pies during a health retreat, where a local chef showed me how delightful and inclusive dessert could truly be.
Contents
- The History and Cultural Significance
- Recipe Overview
- Nutritional Information (per serving)
- Essential Equipment Guide
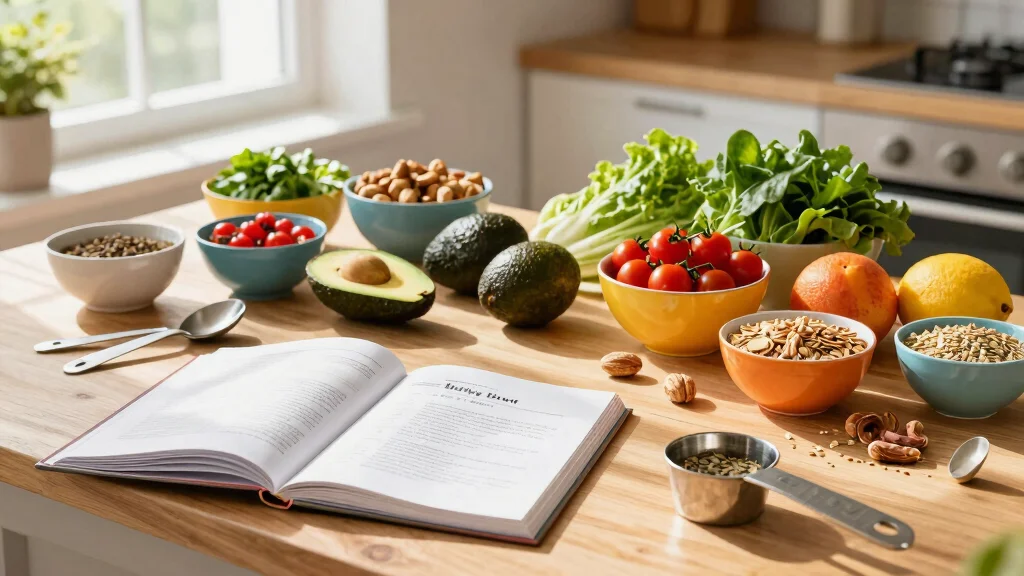
- Ingredients
- Preparation Methods
- Step 1: Prepare Ingredients
- Step 2: Make the Dough
- Step 3: Roll Out the Dough
- Step 4: Blind Bake the Crust
- Step 5: Prepare the Filling
- Step 6: Fill the Crust
- Step 7: Bake the Pie
- Step 8: Serve and Enjoy
- Critical Timing and Temperature Guide
- Pro Tips for Dairy Free Pie
- Troubleshooting Common Issues
- Variations and Regional Differences
- Food Science Behind the Recipe
- Frequently Asked Questions
- Serving and Presentation Guide
The History and Cultural Significance
• Dairy Free Pie traces its origins to the 20th century, where it was originally created by innovative home cooks looking to accommodate lactose-intolerant family members.
• The dish evolved over decades as plant-based alternatives like almond and coconut milk became more popular, eventually becoming the beloved version we know today.
• In contemporary American culture, this dish traditionally appears at family gatherings and potlucks, symbolizing inclusivity and adaptation.
• While many variations exist across different regions, the authentic version maintains a creamy texture that sets it apart from imitations.
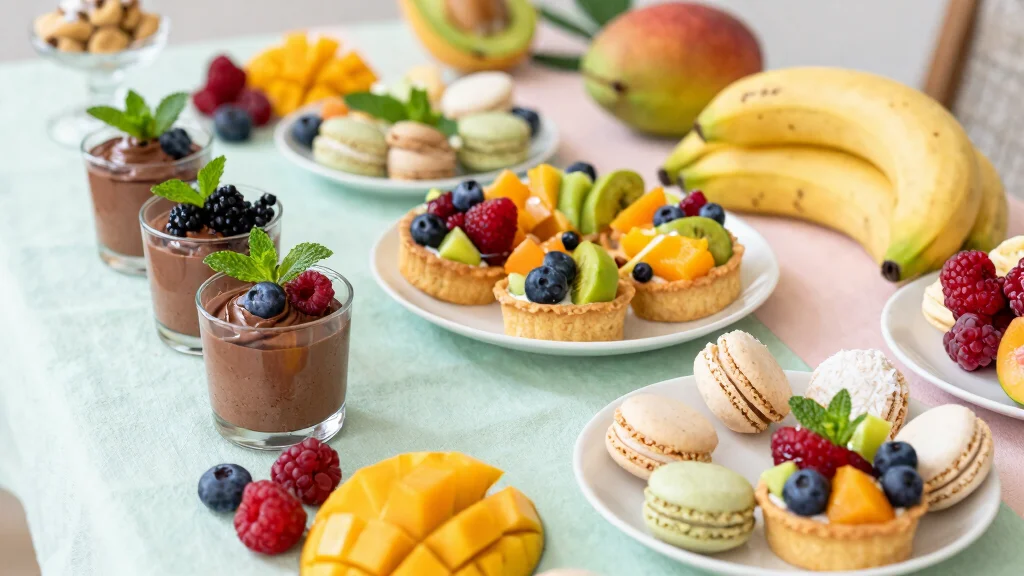
Recipe Overview
Nutritional Information (per serving)
Essential Equipment Guide
Pie Dish: A pie dish is crucial for shaping and holding the pie’s structure. Opt for a ceramic or glass pie dish for even heat distribution, though a metal dish can work if monitored closely.
Rolling Pin: Essential for rolling out the pie crust to the perfect thickness. A wooden rolling pin is traditional, but a marble one can provide additional weight for easier rolling.
Pastry Blender: Integral for cutting fat into flour for the crust, a pastry blender ensures a flaky texture. If unavailable, two forks or your fingertips can be a substitute, though they require more skill.
Ingredients
For the Crust
|
| Amount | Ingredient | Notes |
|---|---|---|
| 1 1/2 cups | all-purpose flour | provides structure |
| 1/4 teaspoon | salt | enhances flavor |
| 1/2 cup | coconut oil | chilled, adds richness |
| 3-5 tablespoons | ice water | binds the dough |
For the Filling
| Amount | Ingredient | Notes |
|---|---|---|
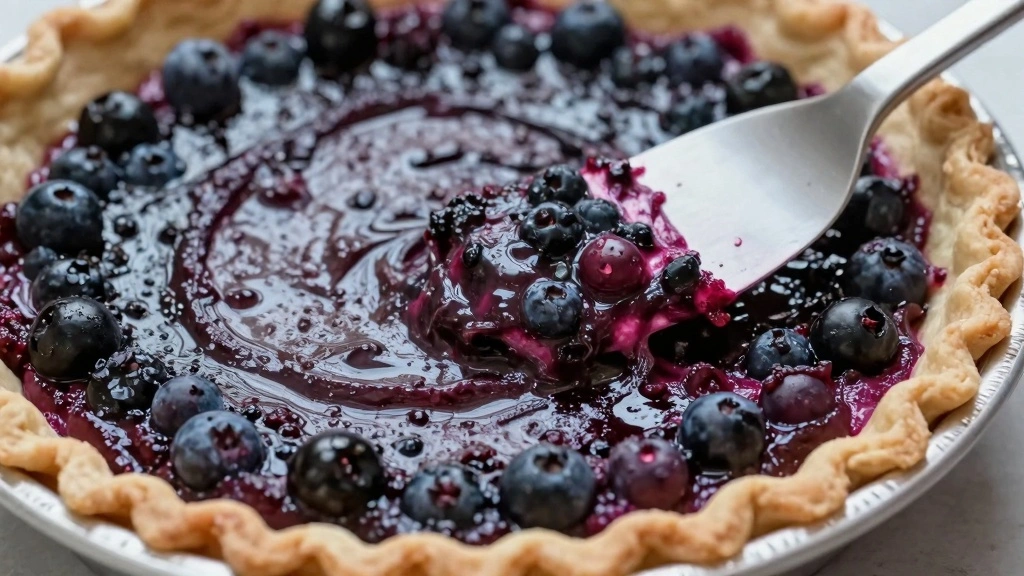
| 2 cups | frozen berries | thawed, provides sweetness |
| 1/2 cup | sugar | adds sweetness |
| 2 tablespoons | cornstarch | thickens filling |
| 1 teaspoon | vanilla extract | adds depth of flavor |
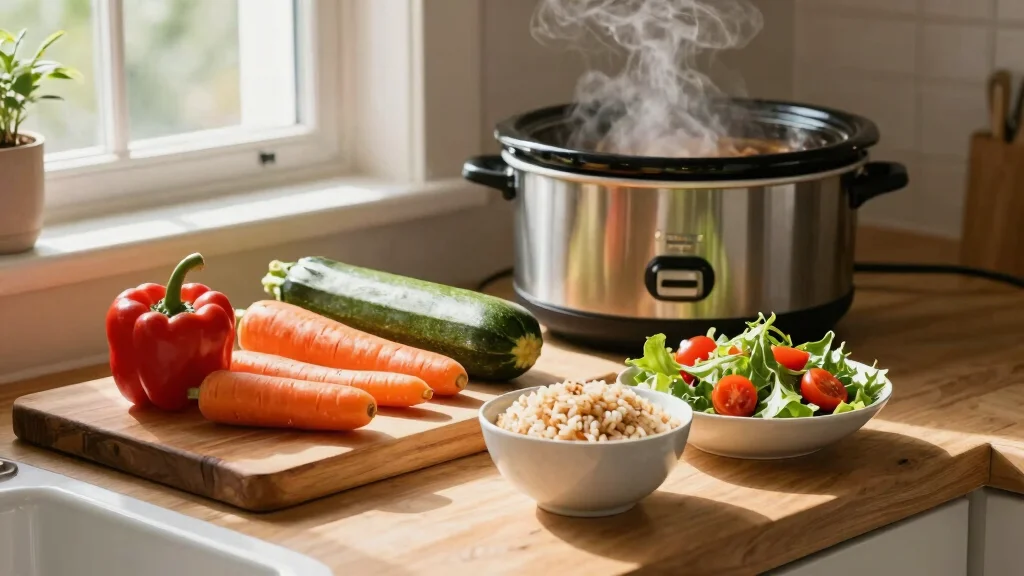
Preparation Methods
Chilling the Dough: This technique ensures the pie crust is flaky by preventing the fat from melting before baking. Chill the dough for at least 30 minutes before rolling it out.
Blind Baking: This involves pre-baking the crust without filling, which is crucial for preventing a soggy bottom. Use pie weights or dried beans to keep the crust flat.
Thickening with Cornstarch: Cornstarch is used to thicken the filling, ensuring it holds together neatly. Mix it well with sugar before adding to the fruit to prevent clumps.
Step 1: Prepare Ingredients
Gather all ingredients and measure them accurately.
Ensure the coconut oil is chilled and cut into small cubes.
Thaw the frozen berries and drain any excess liquid.
Preheat your oven to 375°F (190°C).
Step 2: Make the Dough
In a large bowl, combine flour and salt.
Use a pastry blender to cut the chilled coconut oil into the flour mixture until crumbly.
Add ice water gradually, mixing until the dough comes together.
Form the dough into a ball, wrap in plastic, and chill for 30 minutes.
Step 3: Roll Out the Dough
Lightly flour your work surface and place the chilled dough on it.
Use a rolling pin to roll the dough into a circle about 12 inches in diameter.
Check for even thickness to ensure uniform baking.
Carefully transfer the rolled dough to a pie dish, pressing gently to fit.
Step 4: Blind Bake the Crust
Line the crust with parchment paper and fill with pie weights.
Place in the preheated oven and bake for 10 minutes.
Remove the weights and parchment, and bake for an additional 5 minutes.
Look for a lightly golden edge as an indicator of doneness.
Step 5: Prepare the Filling
In a medium saucepan, combine thawed berries, sugar, and cornstarch.
Stir over medium heat until the mixture thickens and bubbles.
Add vanilla extract and mix well.
Remove from heat and let cool slightly.
Step 6: Fill the Crust
Pour the cooled berry filling into the pre-baked crust.
Spread the filling evenly with a spatula.
Ensure there are no air pockets beneath the filling.
Smooth the top for an even surface.
Step 7: Bake the Pie
Return the filled pie to the oven.
Bake for 30 minutes at 375°F (190°C).
Check for bubbling filling and golden crust as signs of doneness.
Remove from oven and allow to cool on a wire rack.
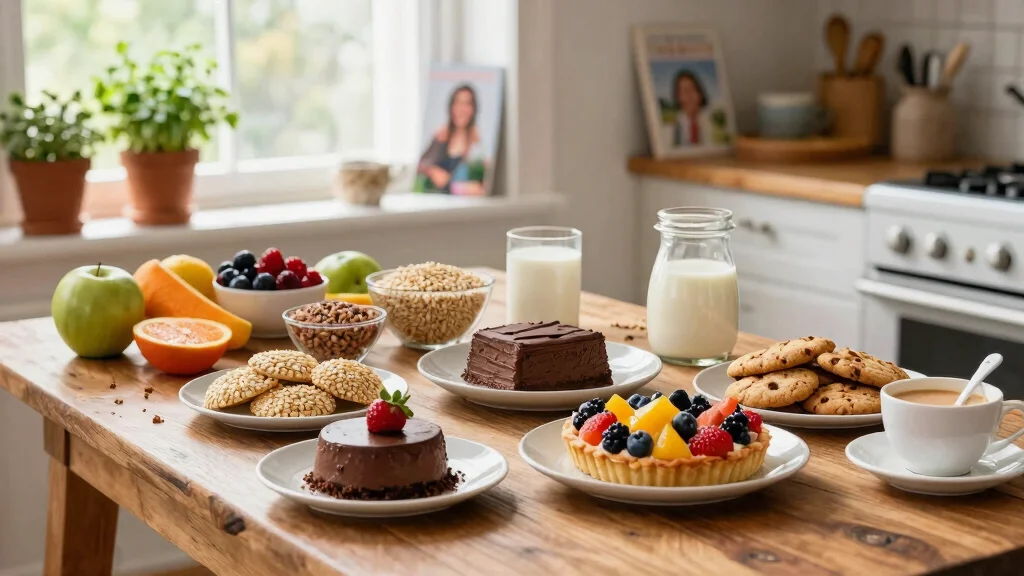
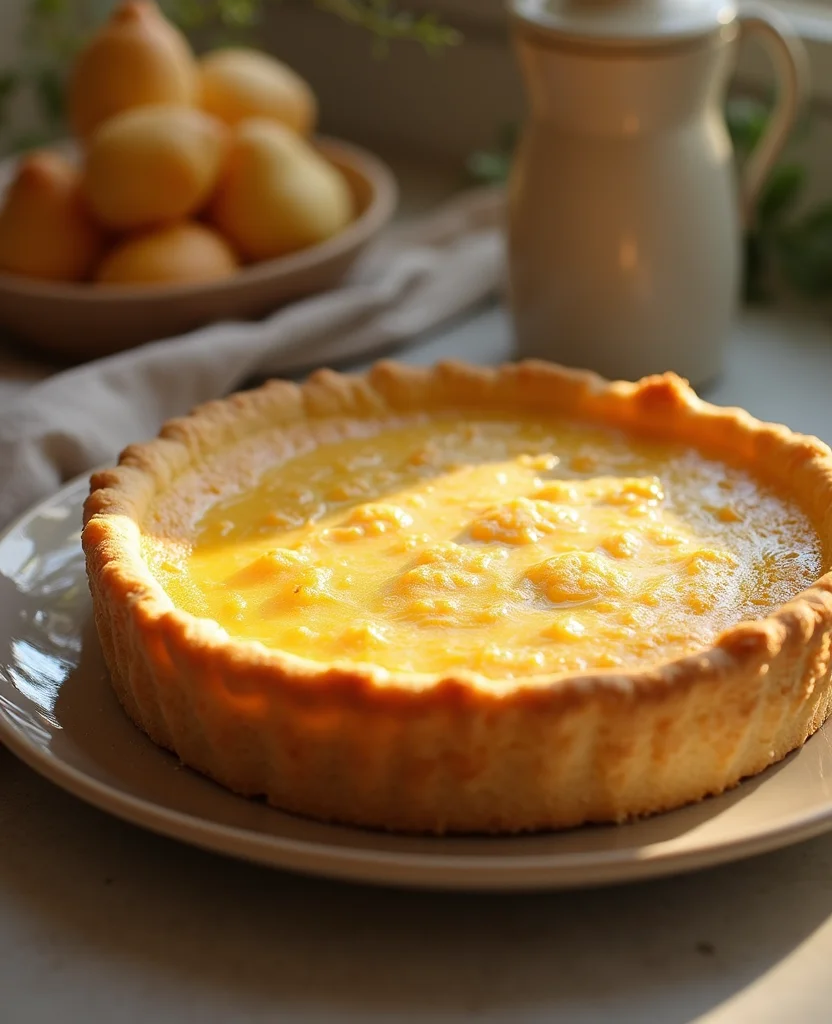
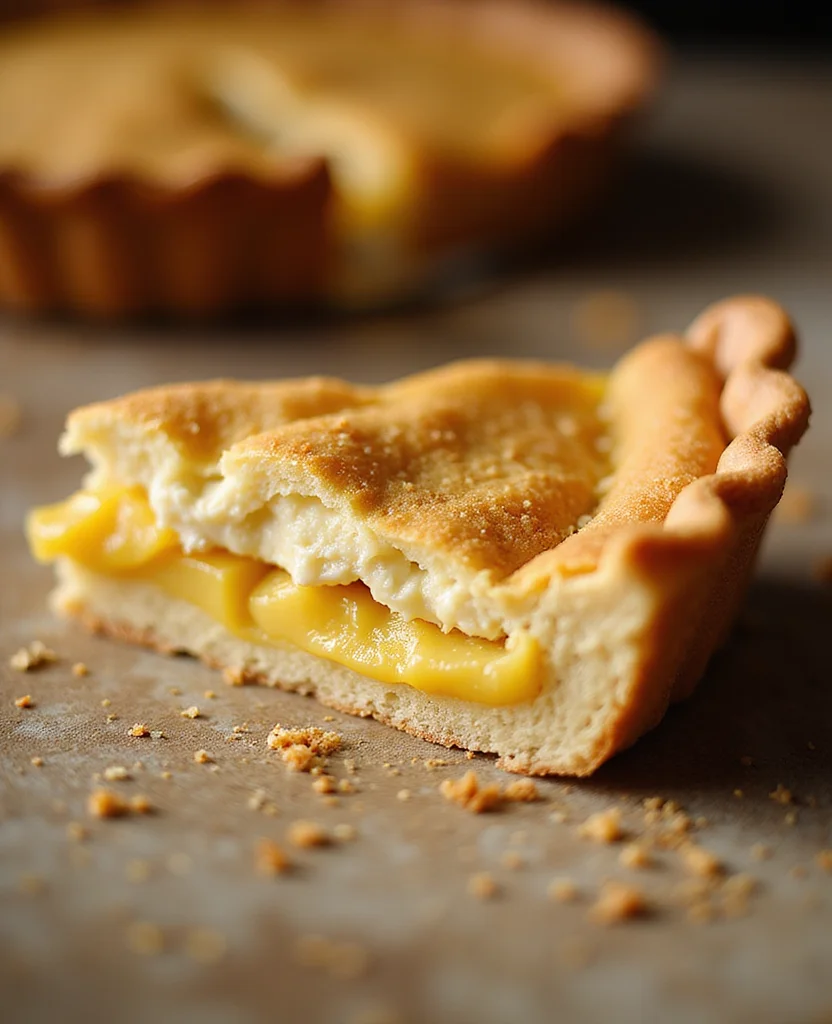
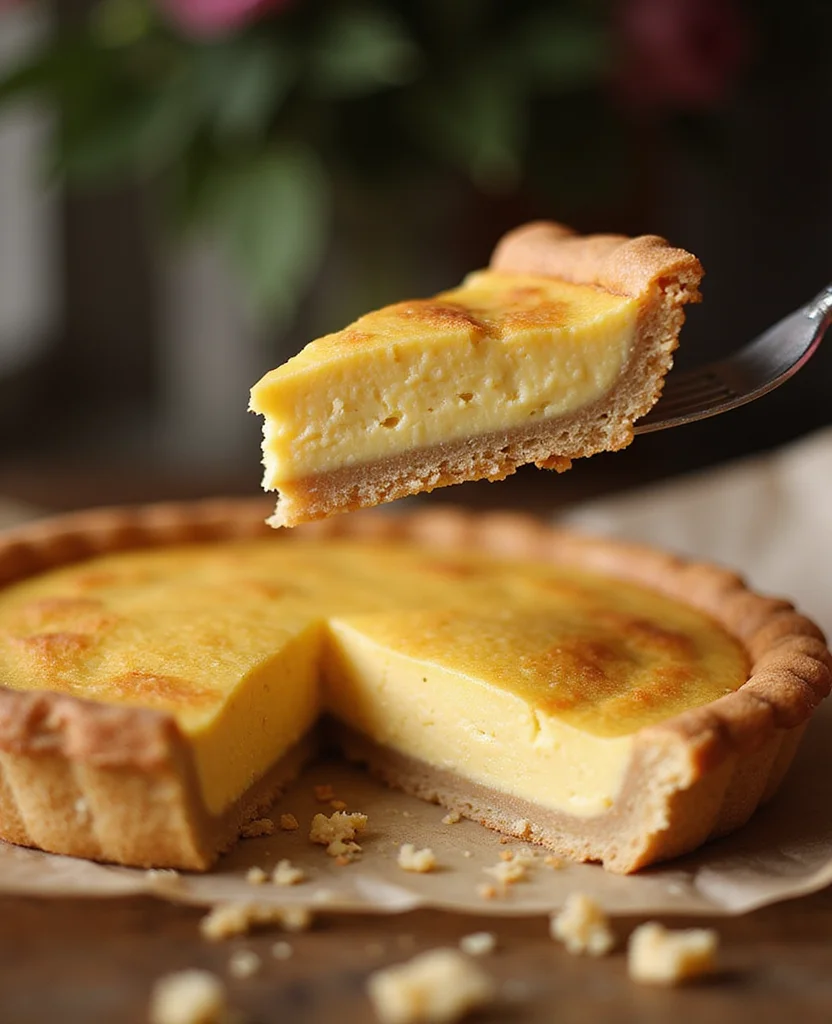
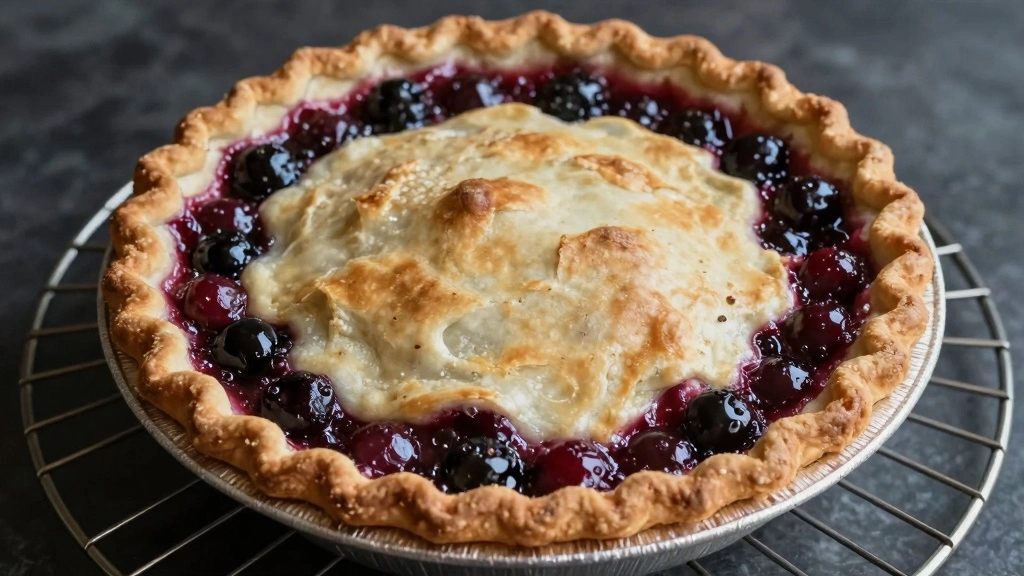
Step 8: Serve and Enjoy
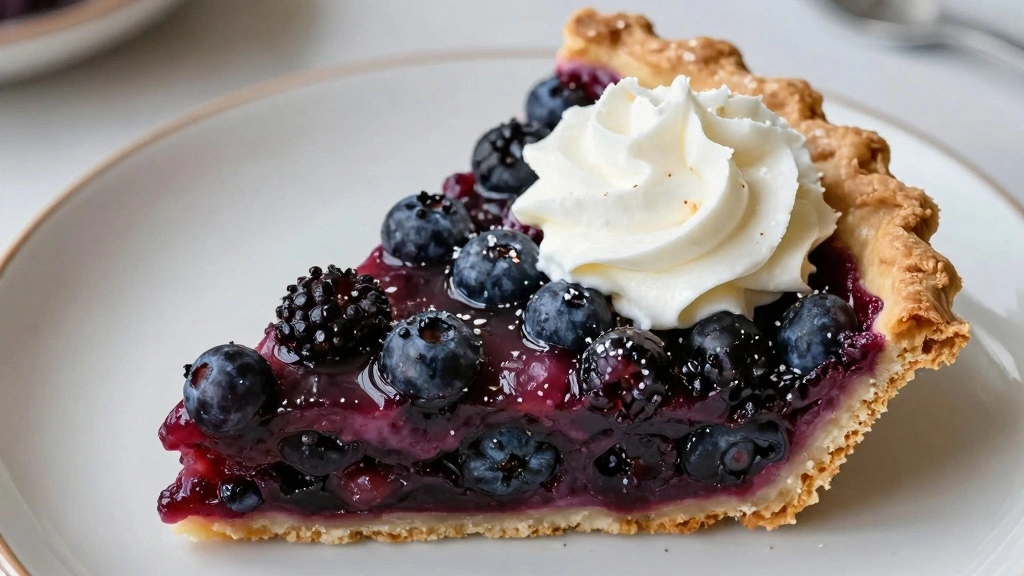
Allow the pie to cool completely before slicing.
Use a sharp knife to cut clean slices.
Serve with a dollop of coconut whipped cream if desired.
Enjoy your delicious dairy-free creation!
Critical Timing and Temperature Guide
Chilling the Dough: Allow a minimum of 30 minutes in the refrigerator. Ensure the dough is firm to the touch before rolling to avoid sticking.
Baking the Crust: Pre-bake at 375°F (190°C) for 15 minutes total. A pale golden hue indicates readiness, while over-baking can lead to a brittle crust.
Filling Consistency: Heat the berry mixture until thick and bubbly. Undercooked filling may result in a runny pie, so ensure it coats the back of a spoon.
Pro Tips for Dairy Free Pie
• Ingredient Selection: Choose high-quality coconut oil and fresh or organic berries for the best flavor and texture.
• Preparation Secret: Pre-chill your mixing bowl and utensils to keep the coconut oil cold during dough preparation.
• Temperature Management: Ensure ingredients like coconut oil are kept chilled until use to prevent a greasy crust.
• Texture Enhancement: Handle the dough minimally to maintain a tender and flaky crust.
• Flavor Layering: Add a pinch of cinnamon or nutmeg to the filling for an aromatic depth that complements the berries.
• Make-Ahead Strategies: Prepare the crust a day in advance and store in the fridge, or freeze for longer storage.
• Restaurant-Quality Finishing Touches: Brush the crust edges with a bit of plant-based milk for an appealing golden finish.
• Equipment Optimization: Use a silicone baking mat for rolling dough to prevent sticking and ensure easy cleanup.
Troubleshooting Common Issues
• Crust Too Hard: Overmixing the dough or insufficient chilling can lead to a tough crust. Ensure minimal handling and proper chilling time.
• Filling Too Runny: If the filling isn't thickening, it may require additional cornstarch or longer cooking time. Adjust as needed.
• Crust Soggy: Blind baking and ensuring the filling is not too wet will help prevent a soggy bottom.
• Uneven Baking: Rotate the pie halfway through baking to ensure even heat distribution.
• Crust Shrinking: Avoid stretching the dough when transferring to the pie dish. Let it settle naturally.
Variations and Regional Differences
• French Style Tart: Uses almond flour in the crust for a nutty flavor and includes a layer of almond cream under the fruit filling.
• Southern Cobbler: Features a biscuit-like topping instead of a traditional pie crust, often incorporating peaches or blackberries.
• Italian Crostata: A rustic open-faced pie that uses a shortbread-like crust and seasonal fruits, often with a lattice top.
• British Summer Pudding: A bread-based dessert filled with an array of berries, set in a mold and served chilled.
Food Science Behind the Recipe
• Emulsification: The process of fat being suspended in the dough creates a flaky texture. Keeping fats cold prevents premature melting, crucial for structure.
• Gelatinization: Cornstarch thickens the filling through gelatinization, where heat causes starch molecules to absorb liquid and swell.
• Maillard Reaction: This browning reaction occurs during baking, enhancing the flavor and color of the crust.
Frequently Asked Questions
What's the most common mistake people make when preparing dairy-free pie? Overworking the dough is a frequent issue that leads to a tough crust. Handle the dough gently and keep ingredients cool.
Can I use fresh berries instead of frozen? Yes, fresh berries can be used. Adjust the cooking time slightly as fresh berries may release less liquid than frozen ones.
How can I make the pie gluten-free? Substitute the all-purpose flour with a gluten-free flour blend. Ensure it includes xanthan gum for structure.
Is there a substitute for coconut oil? Yes, vegan butter or margarine can be used, but it may alter the flavor slightly.
How do I store leftover pie? Cover the pie with plastic wrap and store in the refrigerator for up to four days.
Can I freeze the pie? Yes, both the crust and the finished pie can be frozen. Wrap tightly to prevent freezer burn.
What type of sugar is best for this recipe? Granulated sugar works well, but you can use brown sugar for a deeper flavor profile.
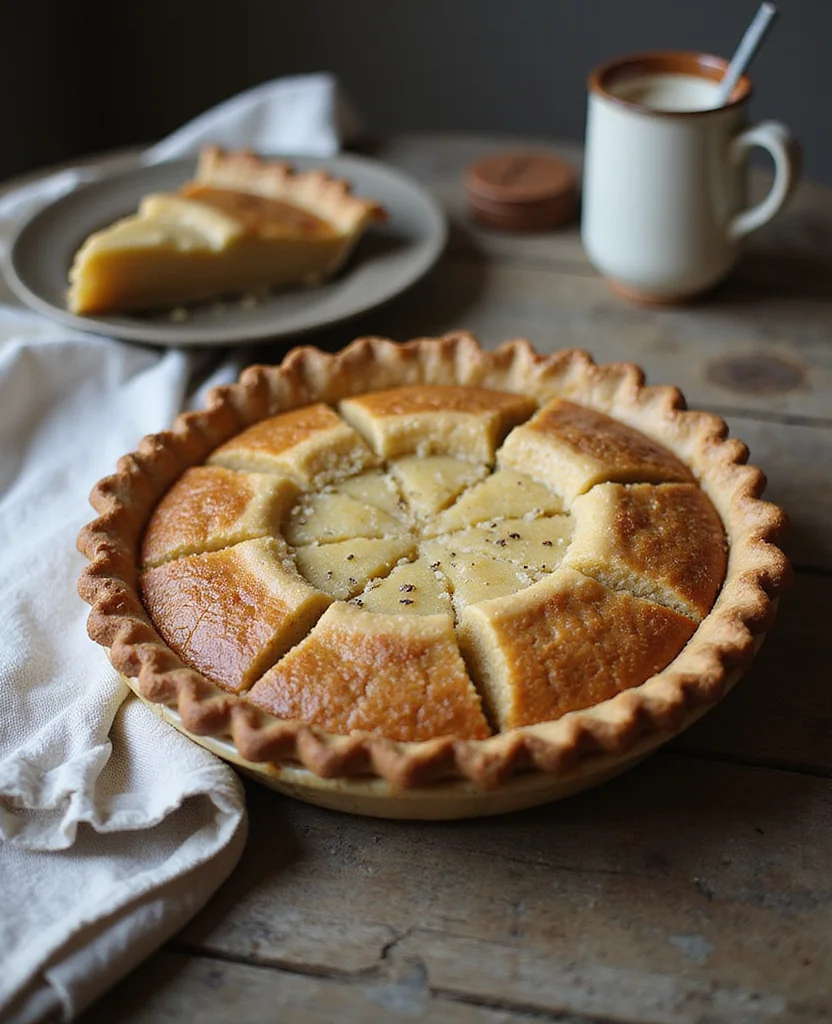
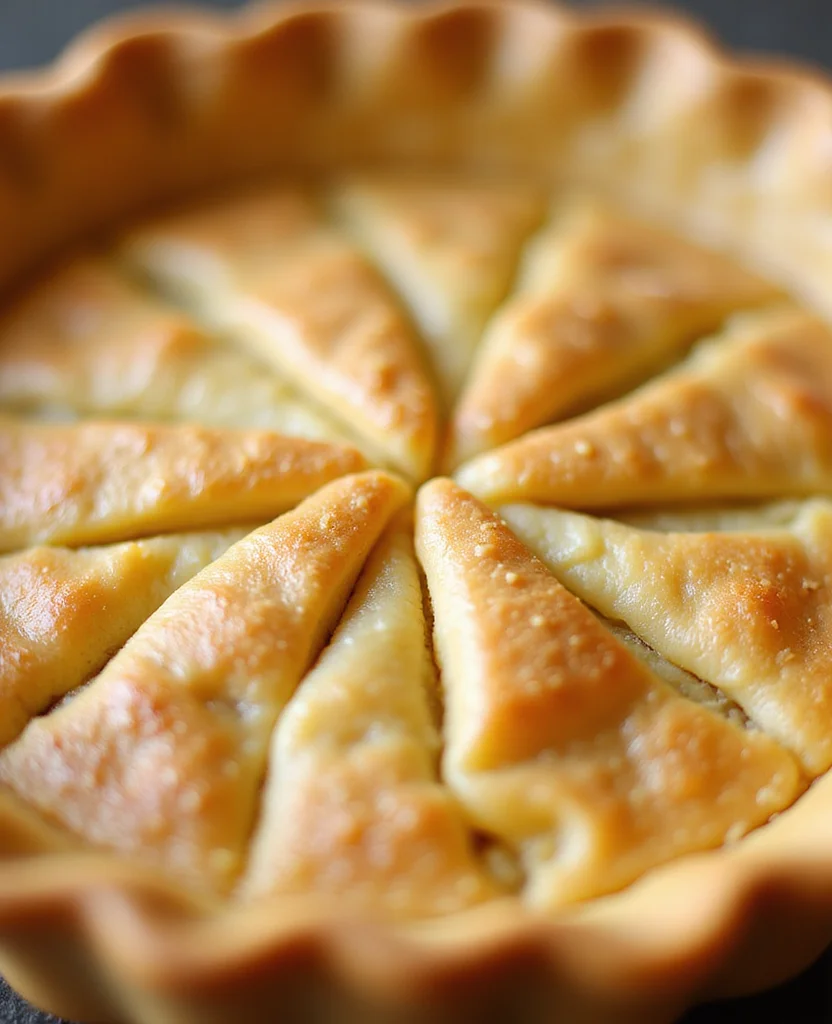
Serving and Presentation Guide
• Traditional Presentation: Serve the pie in its baking dish for a homely touch, accompanied by a bowl of whipped coconut cream.
• Modern Plating: Slice the pie neatly and present it on a dessert plate with a drizzle of berry sauce and fresh mint leaves.
• Family Style: Present the whole pie on a wooden board with a cake server, allowing guests to serve themselves.
• Individual Portions: Use mini pie dishes to create personal-sized servings, ideal for dinner parties or buffets.
Conclusion
Creating your own dairy-free pie is a rewarding experience that combines creativity with culinary skill.
These recipes offer a delightful treat for both those who are dairy-sensitive and those who simply love dessert.
I encourage you to try these recipes and share your delicious results with friends and family.